Lc-2 and Lc-3 steel open wagons
And there are two main versions, Lc-2 with plain ends just like the La-8, and Lc-3 that has corrugated ends - similar in design to the corrugation on the Kp wagon ends. To model this, just in case I wanted heaps, decided to make masters and cast. One La-8 cast side was used and extended it and added panel detail as per drawings using strip plastic. Lazy - really didn't want to do the door detail all over again! Also made separately a master top door and added detail using bits of plastic to get the right look.
 The idea of doing the top door separately was to give choice - with or without top door, although researching photos seems to show more Lc top doors survived than those of the La!  An added detail was to scribe the four floor panel joins topside after reference to drawings.
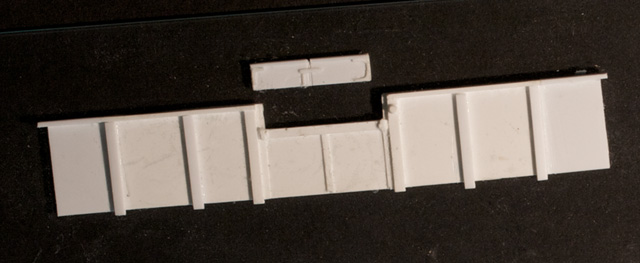
With all the parts, including ends from the La-8, we can assemble Lc-2 wagon bodies.  ready for clean up, and 13ft solebars. 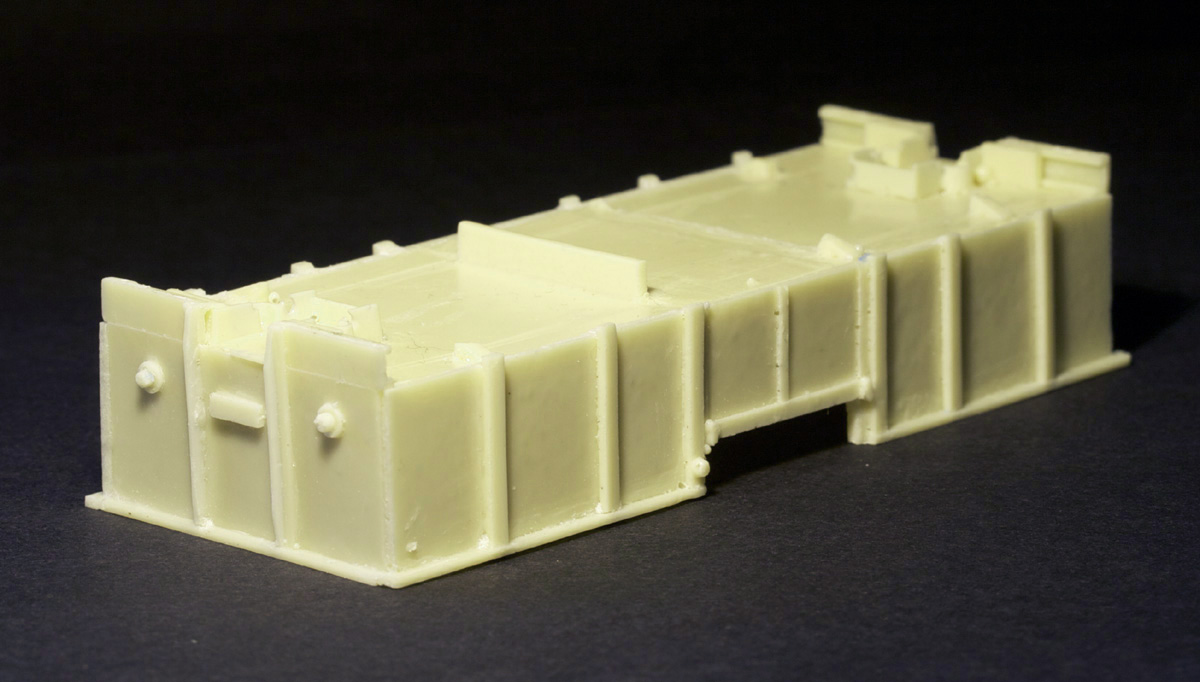  a clean up, and 13ft solebars. And most of them will get their top doors fitted. The side domes were the next detail to add. After hunting around, Tichy #8079 HO scale .080" rivets were the ideal size to represent these domes in OO scale.

Positions on the Lc-3 sides were carefully measured (twice!) and the centre of each marked with a scriber point. Then using sharp dividers, a 1/8 inch radius circle was carefully scribed to represent the very outside of each dome mounting. Then it was a simple matter of drilling out each centre with a 1mm drill to take the rivet stem. And just to add a little more (simple) detail, the INSIDE of each tie-down position is hollowed out slightly (i.e. countersunk) by hand using a 2mm drill tip. You could (but I'm not going to!) go crazy and add a a tiny bit of wire to represent the actual tie-down.
 Notice the countersinks on the far side insides to represent the actual tie-downs.
Each rivet stem was trimmed very short (1mm or so) with just enough stem to allow accurate fixing in position.
 
After seeing the results, I should have used the same method
for the La-8 and Lc-2 end domes :-(
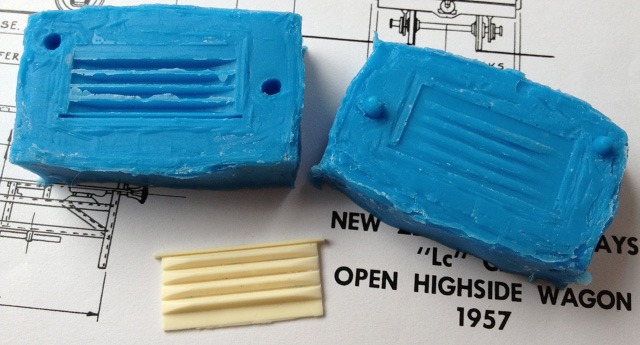
Now for those Lc-3 corrugated ends For my Lc models, the Lc-3 uses all the same parts as a Lc-2 except a new corrugated end was needed. Cut out a rectangle same size as the end, then just like the Kp wagon end construction, glue this time four lengths of triangular 2.5mm strip and after leaving to dry and set between glass sheets, file to correct profile as per research photos. And just like the Kp, very easy after all.  Then, if you want this detail, carve out the inside of the corrugation. You don't have to do this if a load will be carried all the time, but I used a Dremel fitted with a small cutting disk followed by sand paper edge. A bit fiddly and there's the risk of grinding all the way through but steady as she goes did the trick. I had to add tiny bits of Tamyia putty in a couple of spots where it got just too thin and cracked.

Next, if going down the path of moulding and casting, is to make a mould - two-part if you want to capture both the inside and outside detail. If you're not worried about the inside detail, just do a simple one-piece mould, so casts end up flat on the inside.
After producing as many ends as required, they are cleaned up and fitted to the bodies, along with 3mm channel strips for headstocks.
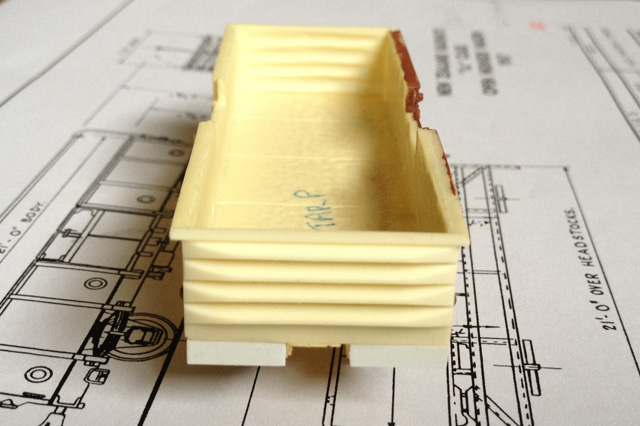 This particular body had over-weight sides so will get a permanent tarp over its ridge-pole!
 Wheels are North Yard 10.5mm plain on 25mm axles, HO/OO gauge. 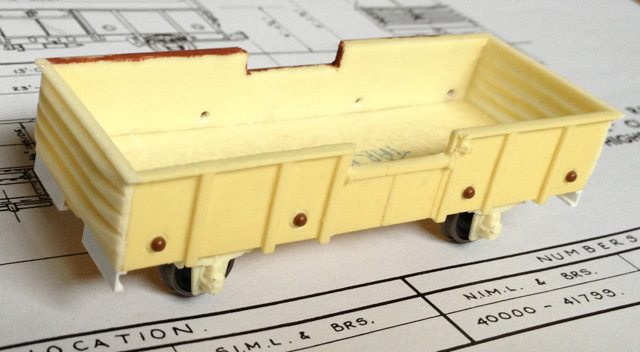 hand grabs, shunter's steps, and ridge pole. Yep, looking like an Lc-3. More to come. . . |