S-2 Sheep wagon
Following on from the J5 sheep wagon, it seemed a logical step to also build an S-2 class sheep wagon - two J bodies stuck together and mounted on a 30ft chassis. After receiving an inspirational photo, I used two of the J-5 bodies and built a 30ft 'Ozzie method' underframe. My S-2 was built at the same time as the J-5s, so to save repetition will only show deviations here.
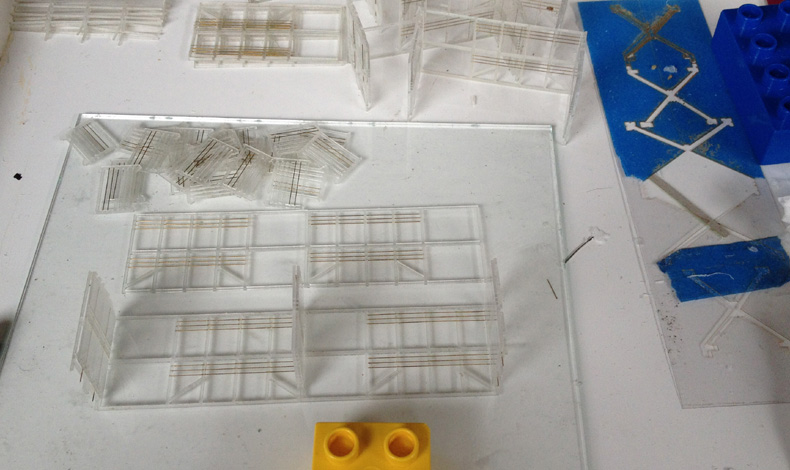
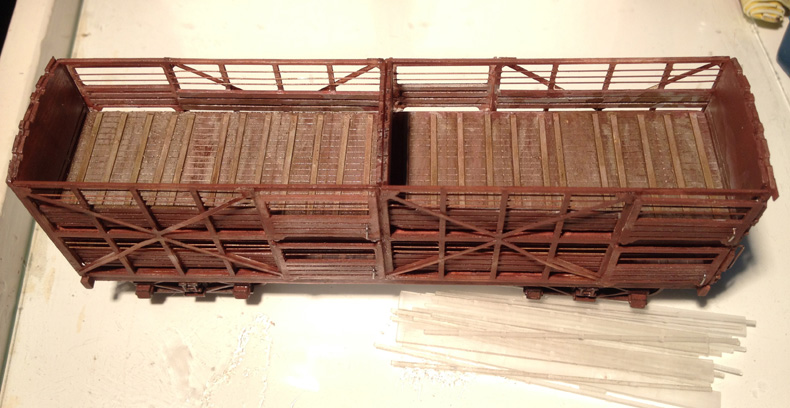
Assembly Not 100 percent accurate but two J-5 sides were stuck together to form one S-2 side. The outside and inside ends were added as per the J-5, BUT to make overall construction more simple, I only used inside ends where the two bodies meet. In real life there is a 1.75-inch gap between the two bodies,
so I represented this by separating the middle inside ends
 Next came a 30ft chassis using the brilliant 'Ozzie method'. That was constructed using various strip styrene and 0.030 inch sheet. This one was built with scale 9-inch sides so that when the 'deck' was added on top, that fitted inside, and became the bottom floors for the two J-5 bodies.  Gaps in the headstocks will take a Kaydee #5 coupler box. On the body, top deck floors with risers for the false floors were been added. 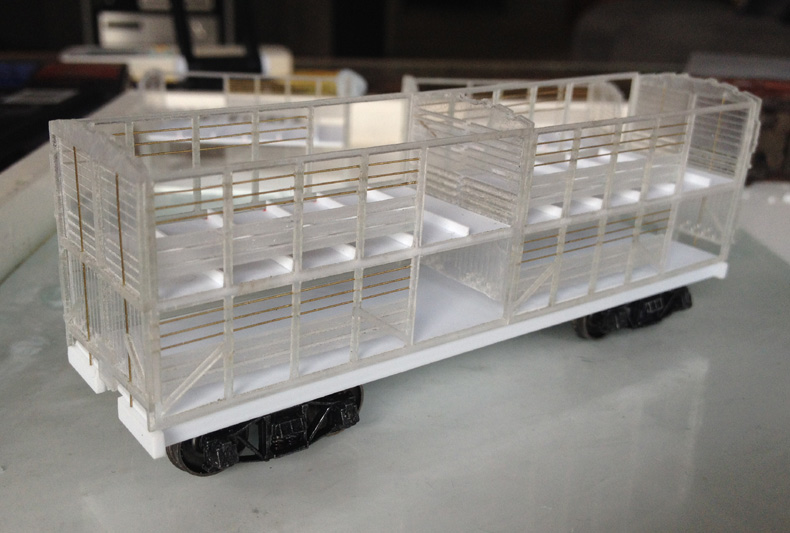 and wouldn't be glued for a while - much painting first! Risers hadn't been added to the bottom floors yet either.   See also the handrails ready for fitting.
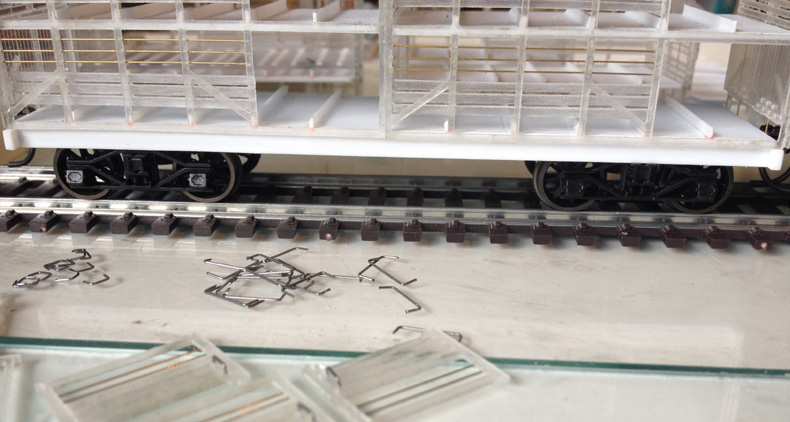 fitted with North Yard spoked wheels - much more contemporary!

Top left, the S-2 body has been painted inside.  sides added, and the body was fitted to the chassis
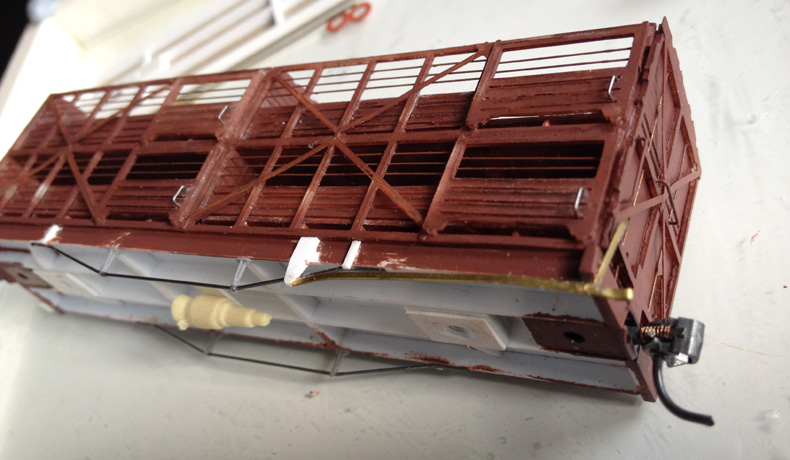 styrene brake lever support and truss rod securing straps, my cast resin brake cylinder, and brass mircro strip brake lever bits.  from brass micro strip. I ran out so one is styrene.

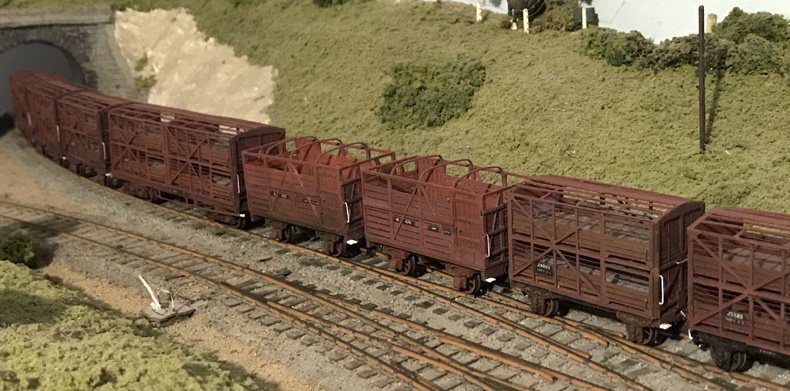
All done with decals added from laser printed cutouts, a few more browny washes, and finally in a rake with other stock wagons.
|